


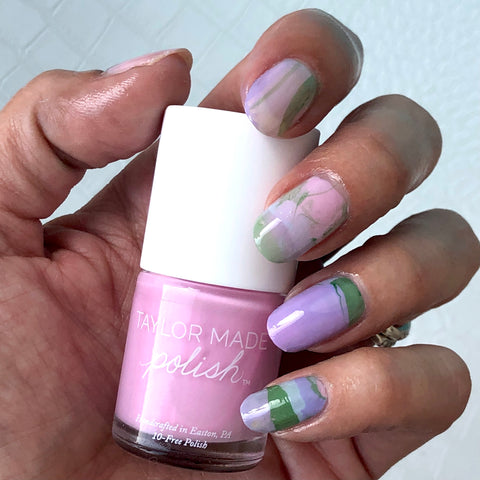
If you've followed us on IG lately, you probably saw the cool water marble nail art we created with the Spring colors we made with the Mia Kit. We're loving it and wanted to share how we did it so you could create it too!
Here is the step by step for designing your own water marble nail art.
First though, what is water marble nail art?
Water marble nail art is a technique of nail art that uses water to create unique color swirl designs. Instead of painting swirls on your nails with a brush, using water allows you to “design” your swirls and marble pattern first in water. When drops of nail polish are added to water the color stays on the surface giving you the opportunity to design beautiful swirls. The intricate swirl designs can seem intimidating, but we’re breaking it down so you can easily create your own! And if you’re a visual learner – be sure to check out our #bts video on YouTube
Supplies You'll Need
- Dry, prepped manicured nails
- Nail Polish for a base shade – white or very light colors usually work best
- 3 nail polish colors for creating your design
- Glass filled ¾ full with room temperature water
- Bamboo stick (we used this from our kits, but a toothpick works just as well)
- Nail polish remover
- Lint-free remover pads
- Clean-up brush
- Ceramic dish
- “Clearly On Top” Top Coat
Step 1
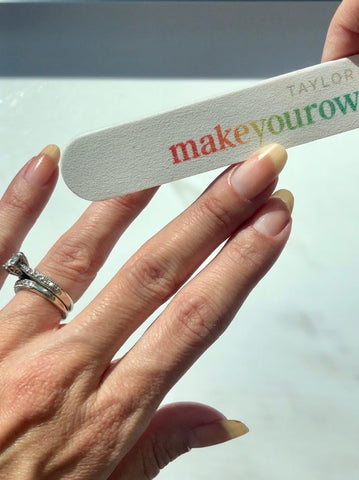
Prep Your Nails
Anytime you do your nails you want to make sure you have the basics down! Taylor Made recommends a dry mani – you can find our simple method here
Step 2
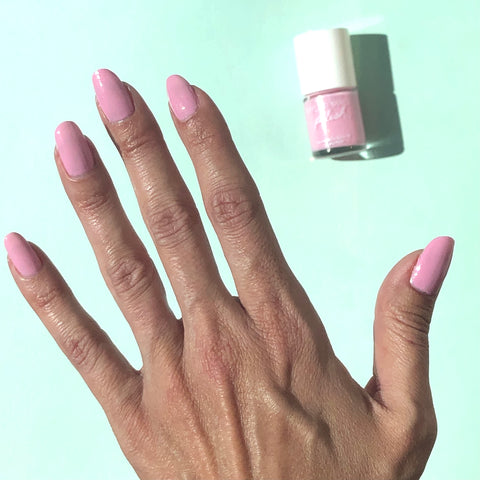
Apply Base Color
Once you’re done with your mani, you’re ready to start! A base coat isn’t necessary with Taylor Made Polish so the base we’re talking about here is an actual polish color that coordinates with the 3 other swirl colors you’ve selected. White or light colors usually work best so you can see all of the swirls. This will be the “canvas” for your art. In this case we used a light pink to go with the other Spring colors we chose. Apply 1-2 coats and make sure they are thoroughly dry.
Step 3
Prep Your Polish
We picked Spring colors created from the Mia Collection we made a couple of weeks ago, but you can create water marble nails with any colors. Its fun to play with dark, light and shimmer finishes too. I recommend not choosing more than 3 colors and ones that will mix well together. Just in case you get a little carried away with the swirling, you don’t want to wind up with muddy colors.

Drop dots of your different polish colors into the water. We like to start in the center and watch the colors move towards the edge of the glass, but anything goes! And remember to make sure the water is room temperature. Cold water causes the polish to dry a bit too fast and doesn’t make for great swirling.

Step 4
Design Your Swirl
Now for the “art” part! Using your bamboo stick, gently move the polish around in the water to create a swirl. Envision the look of the swirls on your actual nails and create the shapes and marble look you want with the toothpick. And remember all swirls are different and will be unique for all nails. You really can’t mess up a swirl! If you do want to start over, you can easily do so by skimming the surface of the water with your toothpick and you’re ready to add more drops.

Step 5
Dip Your Finger Into the Swirl
Once you’re happy with your swirl design, dip your fingertips into the water so that your nail is covered with the swirl design. You’ll want to consider placement or the design on your nail. Sometimes rotating your glass gives you a better angle for some nails. We recommend waiting a 1-2 seconds and then gently lifting your finger out of the water. Repeat on your other nails. You may want or need to create different release or clear any stringy polish away.

Step 6
Clean Up
After dipping all of your nails, wait for them to dry. Taylor Made Polish dries quickly (1-3 minutes depending on the amount you’ve used) but if using other brands you’ll want to test them out to make sure. Fill your ceramic dish with ¼ to ½ inch of polish remover. Dip your clean-up brush in the remover and start to clean up the polish around the nail. The extra polish you're removing can get messy. We recommend wiping removed polish onto the lint free pads. Sometimes there is more polish on the skin its best removed directly with the lint free remover pad. The brush is ideal for around the sides of the nail and the cuticle area.

Step 7
Apply Top Coat
We applied Taylor Made “Clearly On Top” top coat but any top coat will work. A top coat for other Taylor Made Polish mani’s isn’t always needed, but we recommend it for this one!

Giving this a try? We’d love to see your creation! Share with us on Instagram and tag us @taylormadepolish
Have questions? Drop us a line at hello@taylormadepolish.com


